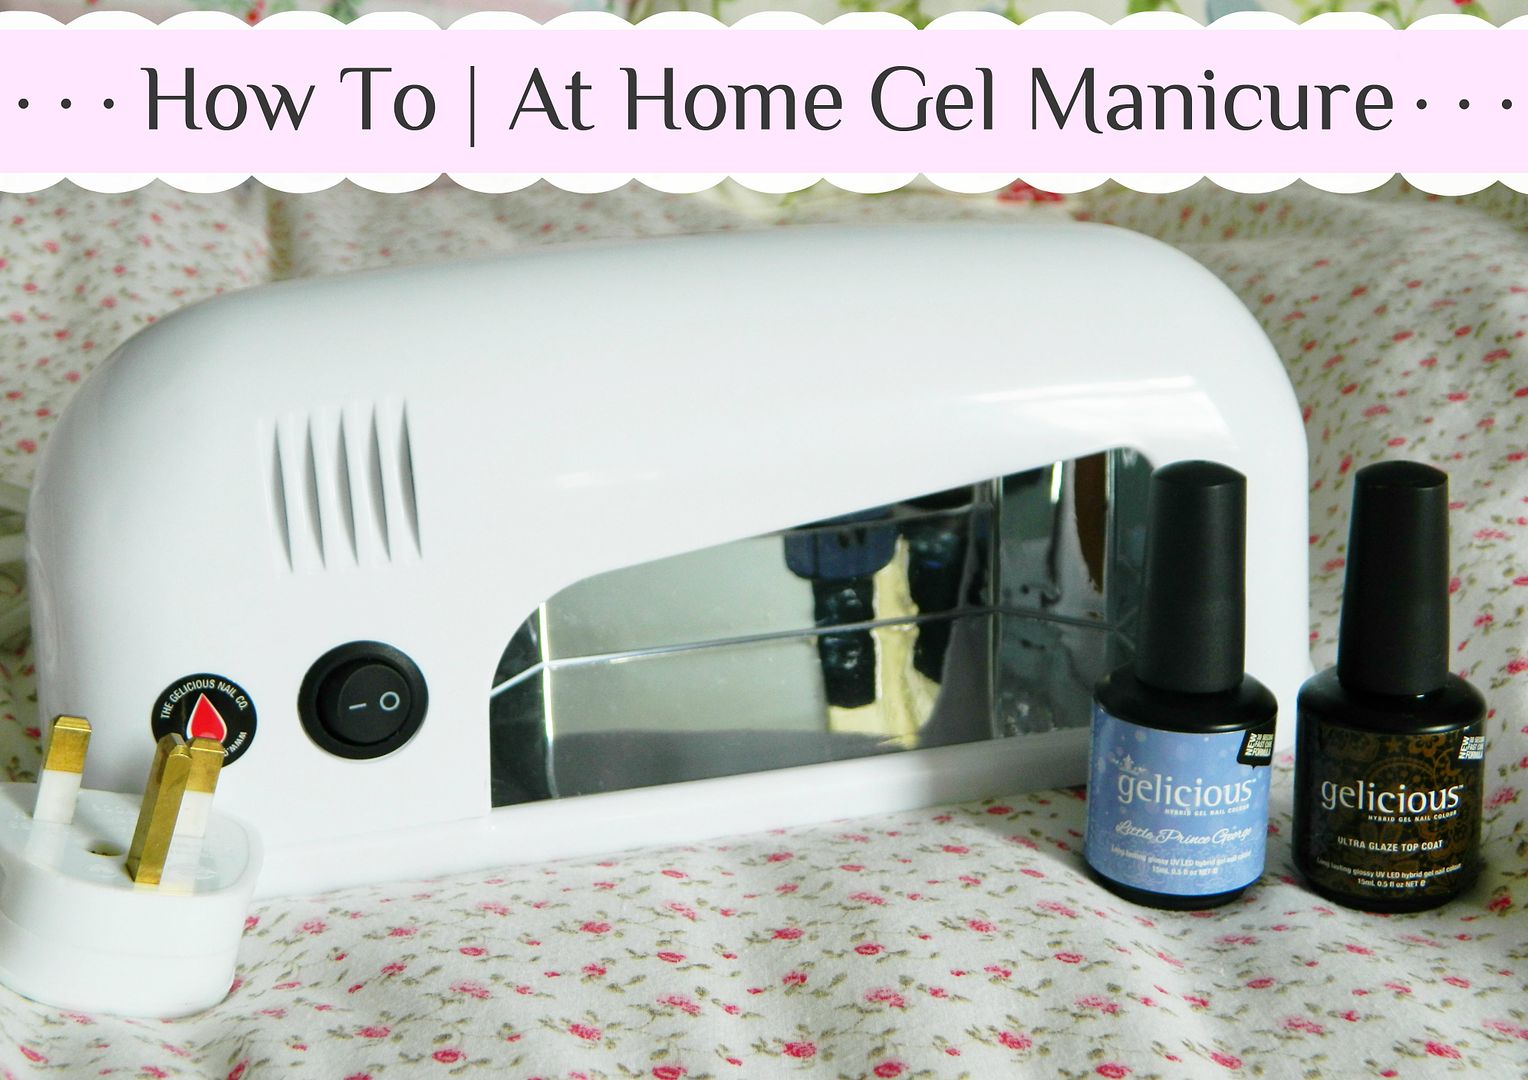
Little Prince George, Ultra Glaze Top Coat & UV/ LED Lamp Package* | £124.74 - currently £69.66
Today I have a bit of a different post for you all which is about creating the perfect gel manicure in the comfort of your own home. Being a beauty student as well as a blogger, I've really taken an interest in the whole gel nails concept. For those of you know don't know, gel nail polishes are completely different to your normal everyday nail polish. They require either a UV or LED lamp to cure the polish in order for it to dry and because of this, they can typically last much longer than normal nail polish (anything from 2 to 4 weeks).
When I was contacted by the lovely people from Gelicious, I was extremely excited to finally have a go at creating my own gel manicures. Gelicious is an Australian based gel polish company that are now branching out into other areas of the world including the UK. They sent me the perfect starting kit for gel manicures which included: a travel size UV/ LED lamp, a gel polish in Little Prince George and an Ultra Glaze Top Coat.
I'm by no means an expert, but I've put together a little step-by-step post as to how I have been performing my manicures, so hopefully you'll find this both useful and interesting!
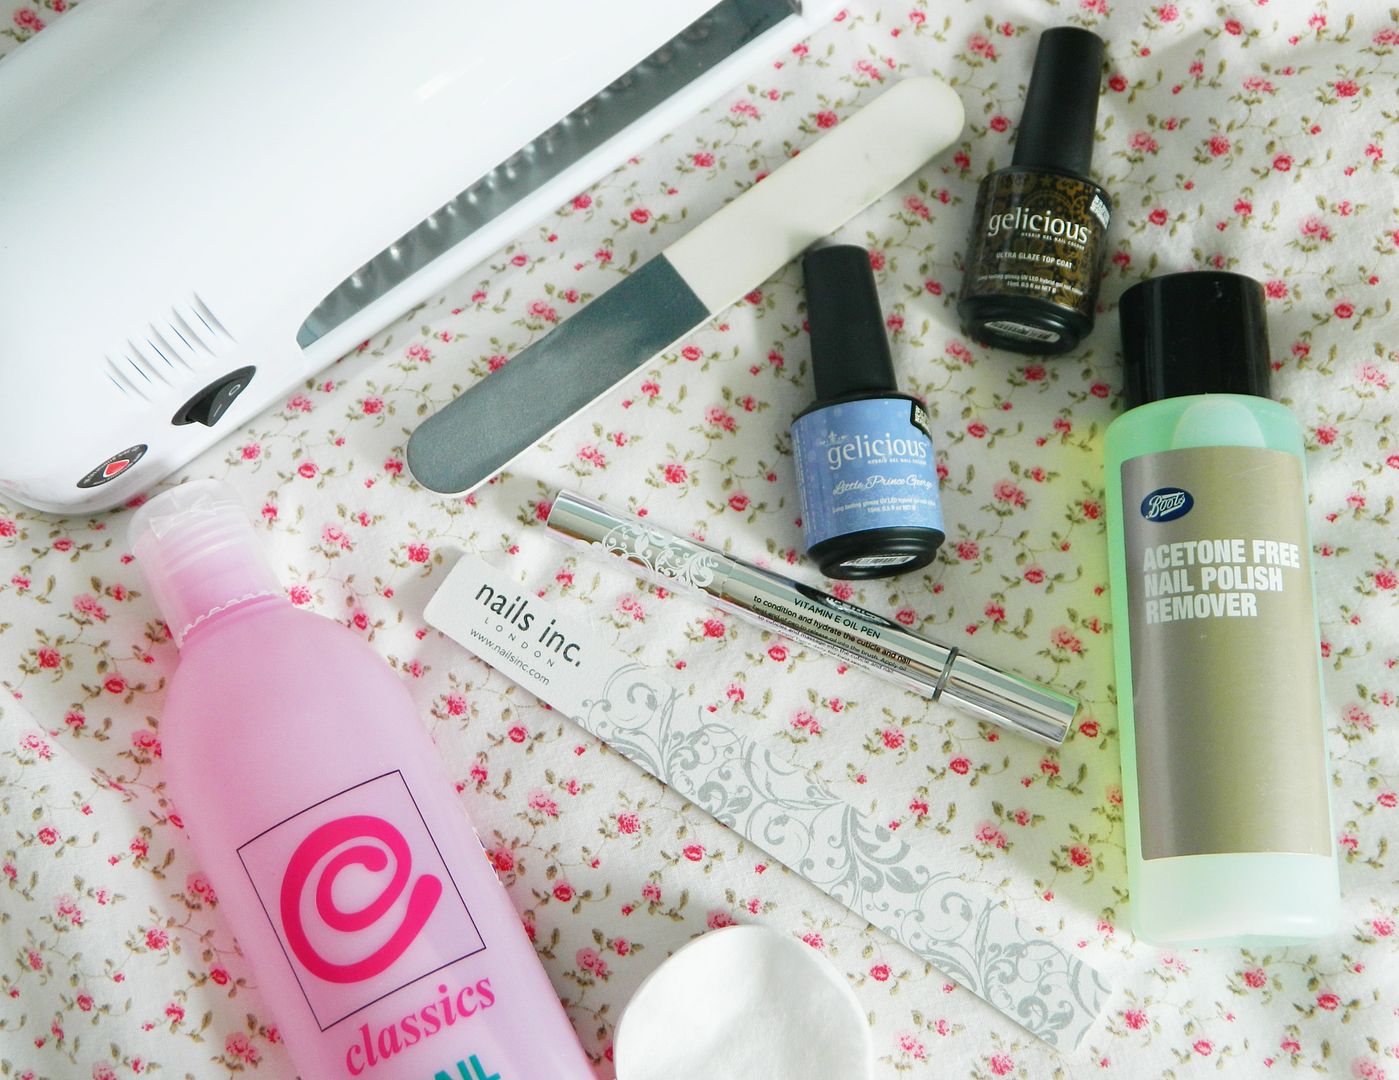
| What you will need for your gel manicure |
A UV or LED lamp
A coloured polish of your choice
A top coat (a base coat is optional for Gelicious polishes)
An acetone based nail polish remover (or a gel polish primer)
An acetone-free nail polish remover (or a gel polish cleanser)
A nail file and buffer
Cotton wool
Nail and cuticle oil
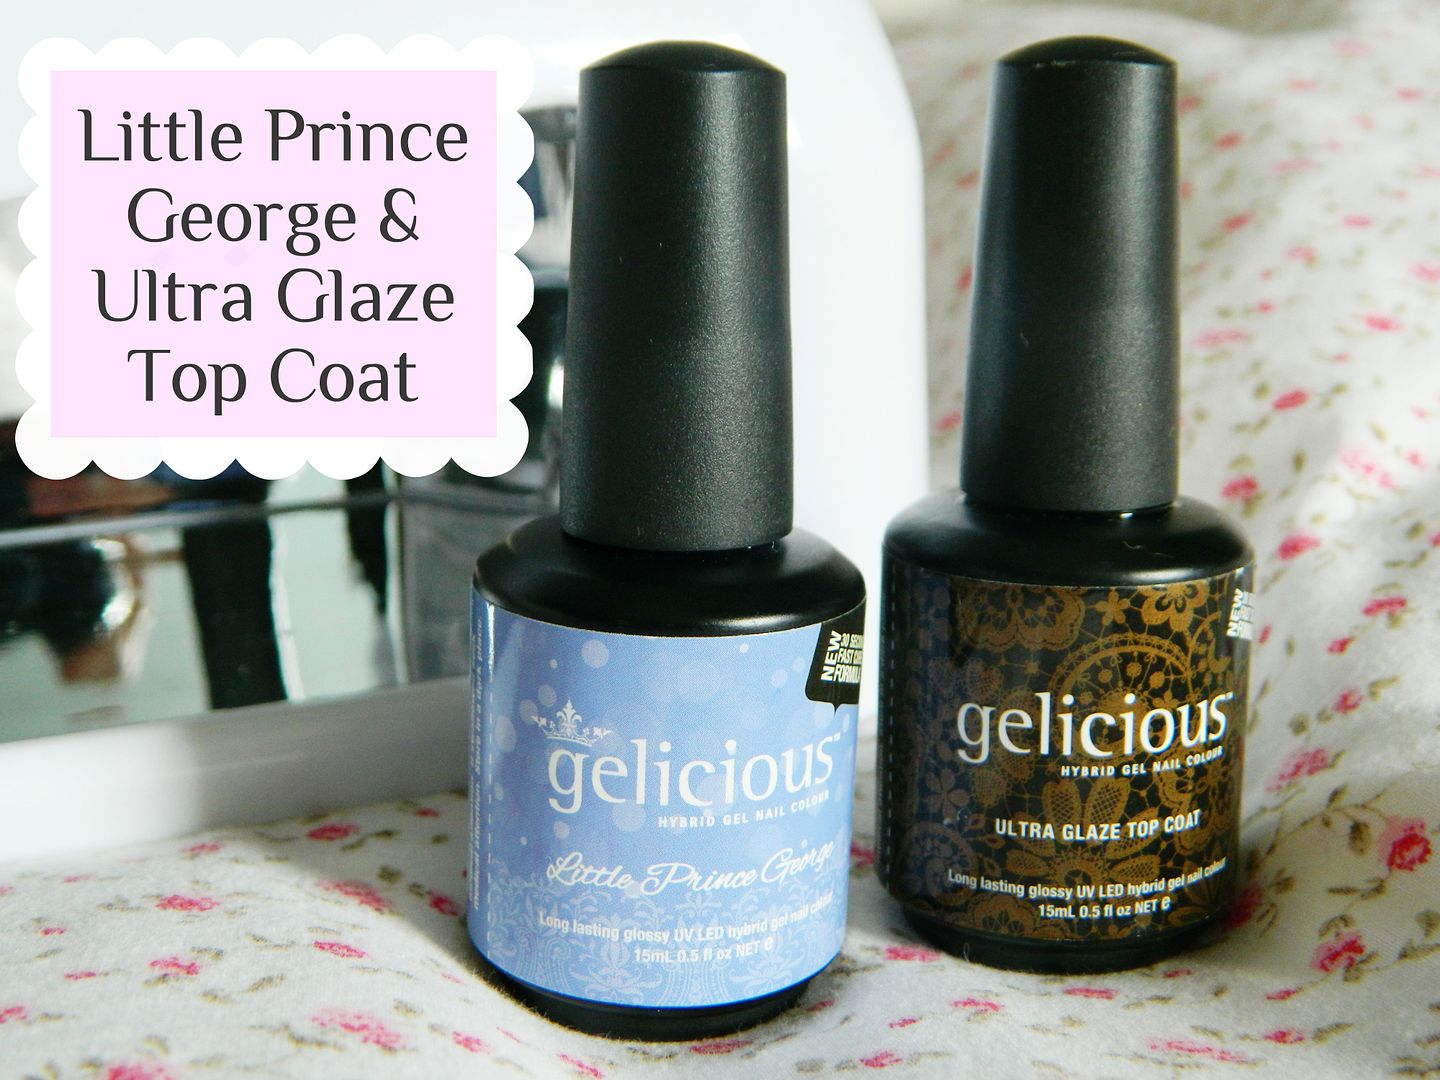
Little Prince George* | £25.32 - currently £17.28 | Ultra Glaze Top Coat* | £24.30 - currently £15.66 |
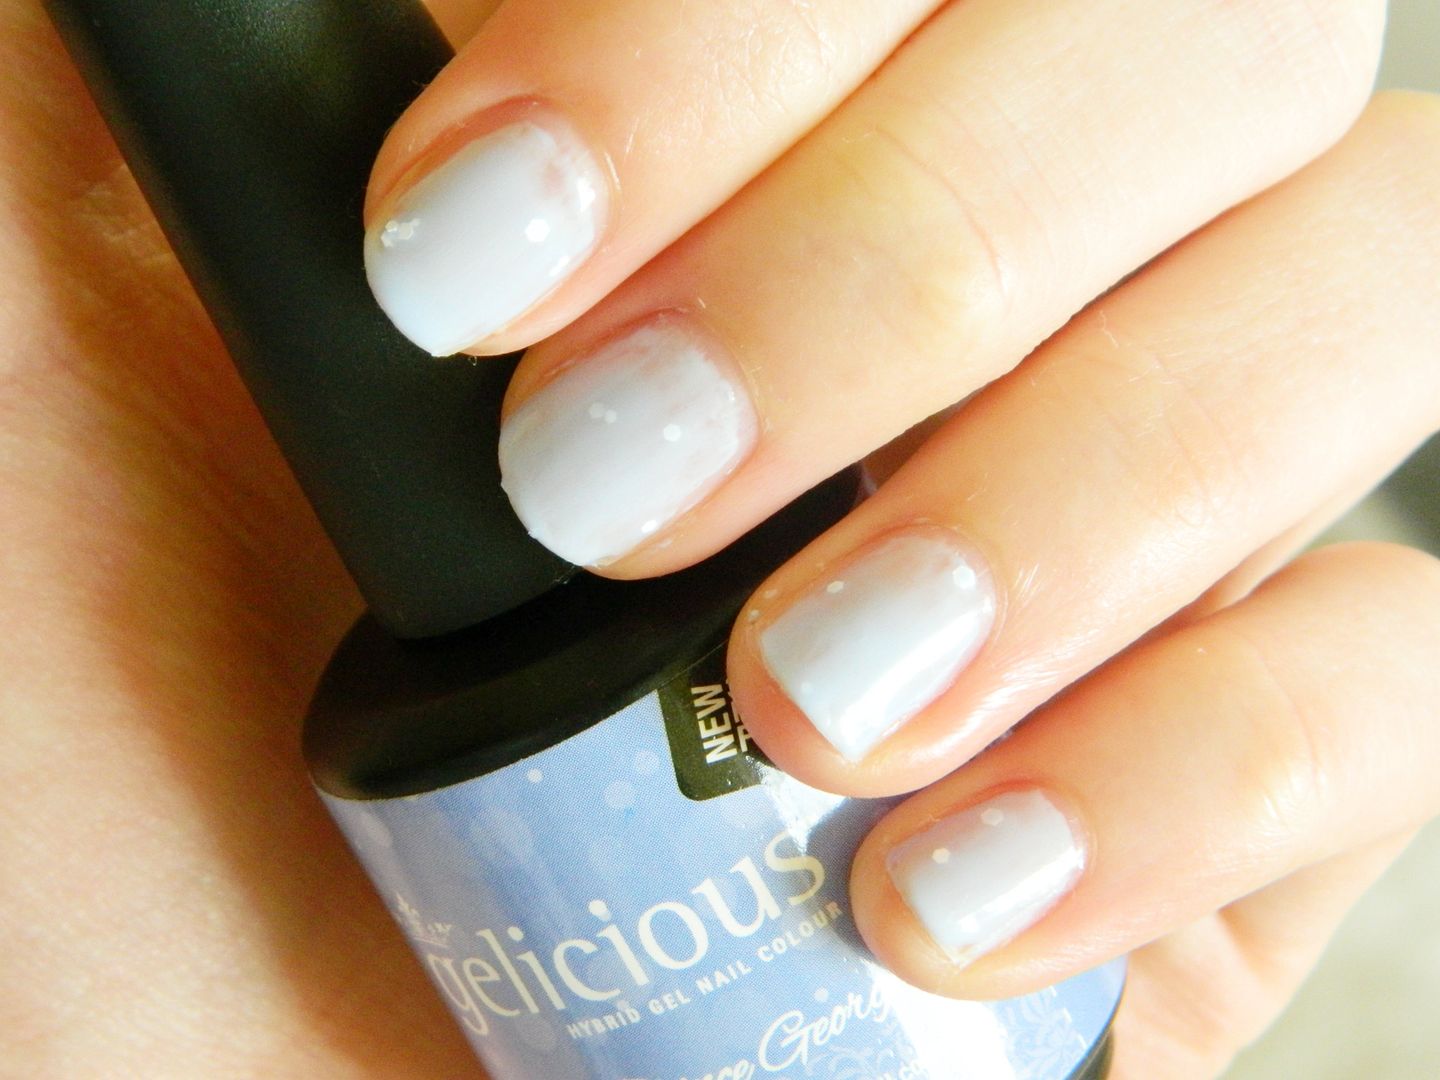
The gel nail polish colour I was sent to try out was Little Prince George. This shade was inspired by the famous dress that Kate Middleton wore when her and William revealed their baby boy to the world (click here to see some images of the dress)! What Gelicious have created is a beautiful baby blue shade that has little white polka dots in to create the same effect as the dress - very clever and well thought out if you ask me! This is a pretty shade that is perfect for the Spring time as pastel/ light shades are always on trend at this time of year! Both Little Prince George and the Ultra Glaze Top Coat also have a brand new formula that allows them to be cured in just 30 seconds which is incredibly fast.
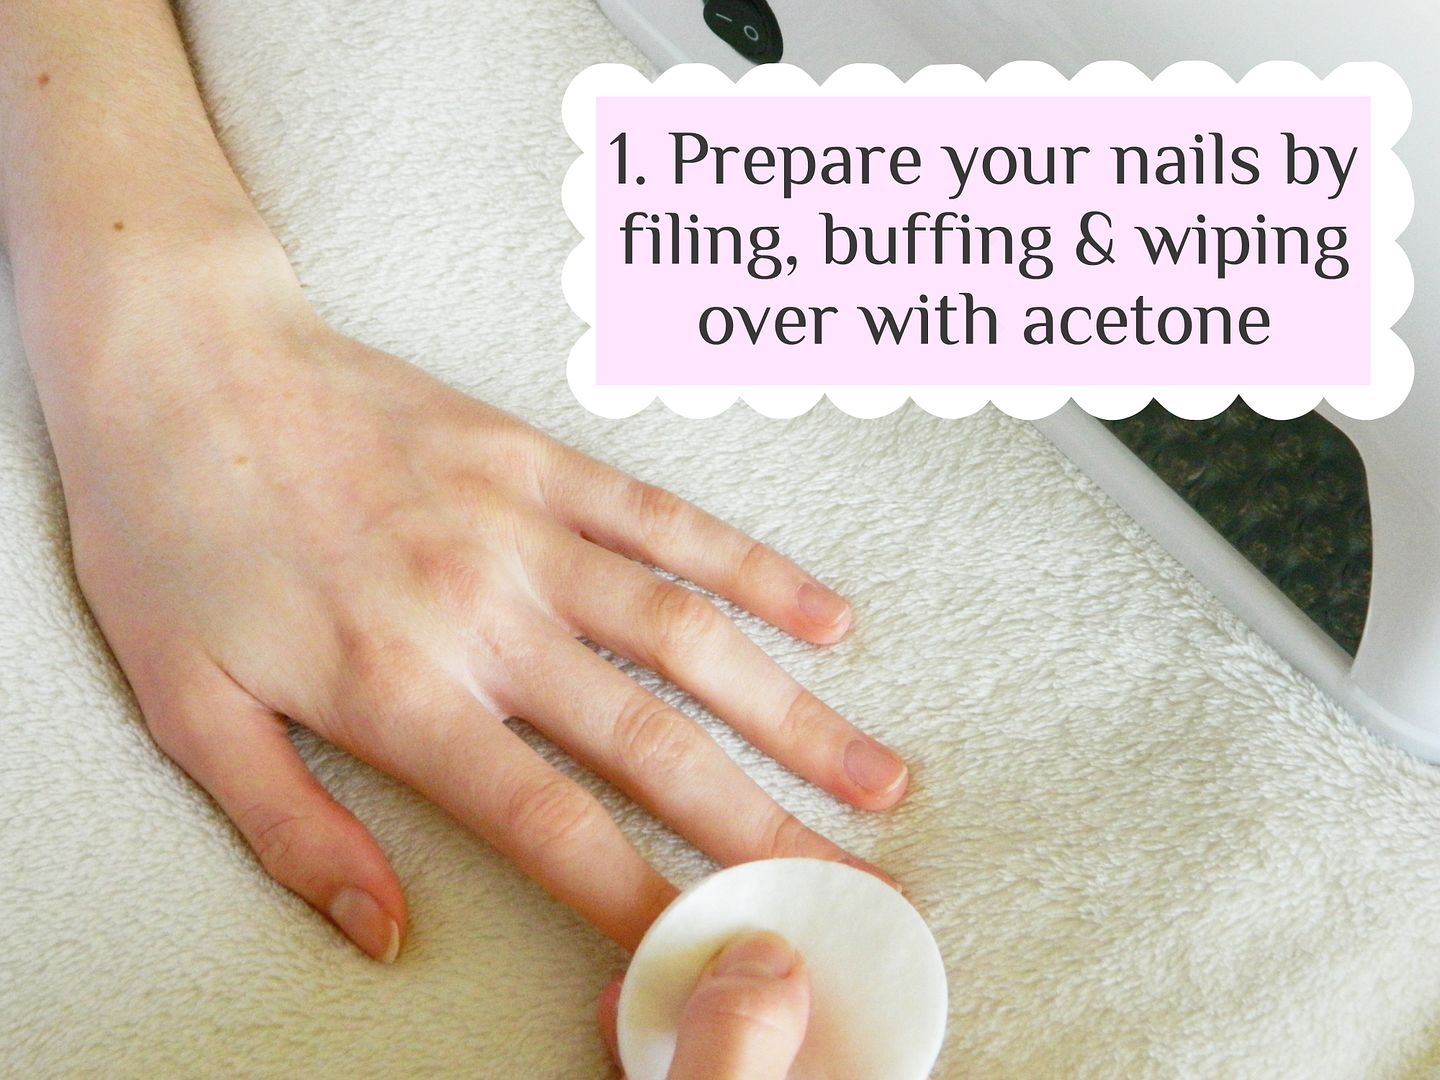
Step 1 | Start your manicure by preparing your nails. Wash your hands with a moisturiser free hand wash to remove any oils from the nails as these can cause the polish to peel away. File and shape your nails and then buff them to remove the shine. If you want to make sure your nails are completely oil free, wipe over them with an acetone based nail polish remover or a gel polish primer. You can also apply a gel polish base coat at this step, but this isn't necessary with Gelicious polishes!
Top Tip | Prepare each of your hands separately. Once you have finished your first hand's polish, repeat Step 1 to the other hand so that you know there is absolutely no oil on your nails!
Top Tip | Prepare each of your hands separately. Once you have finished your first hand's polish, repeat Step 1 to the other hand so that you know there is absolutely no oil on your nails!
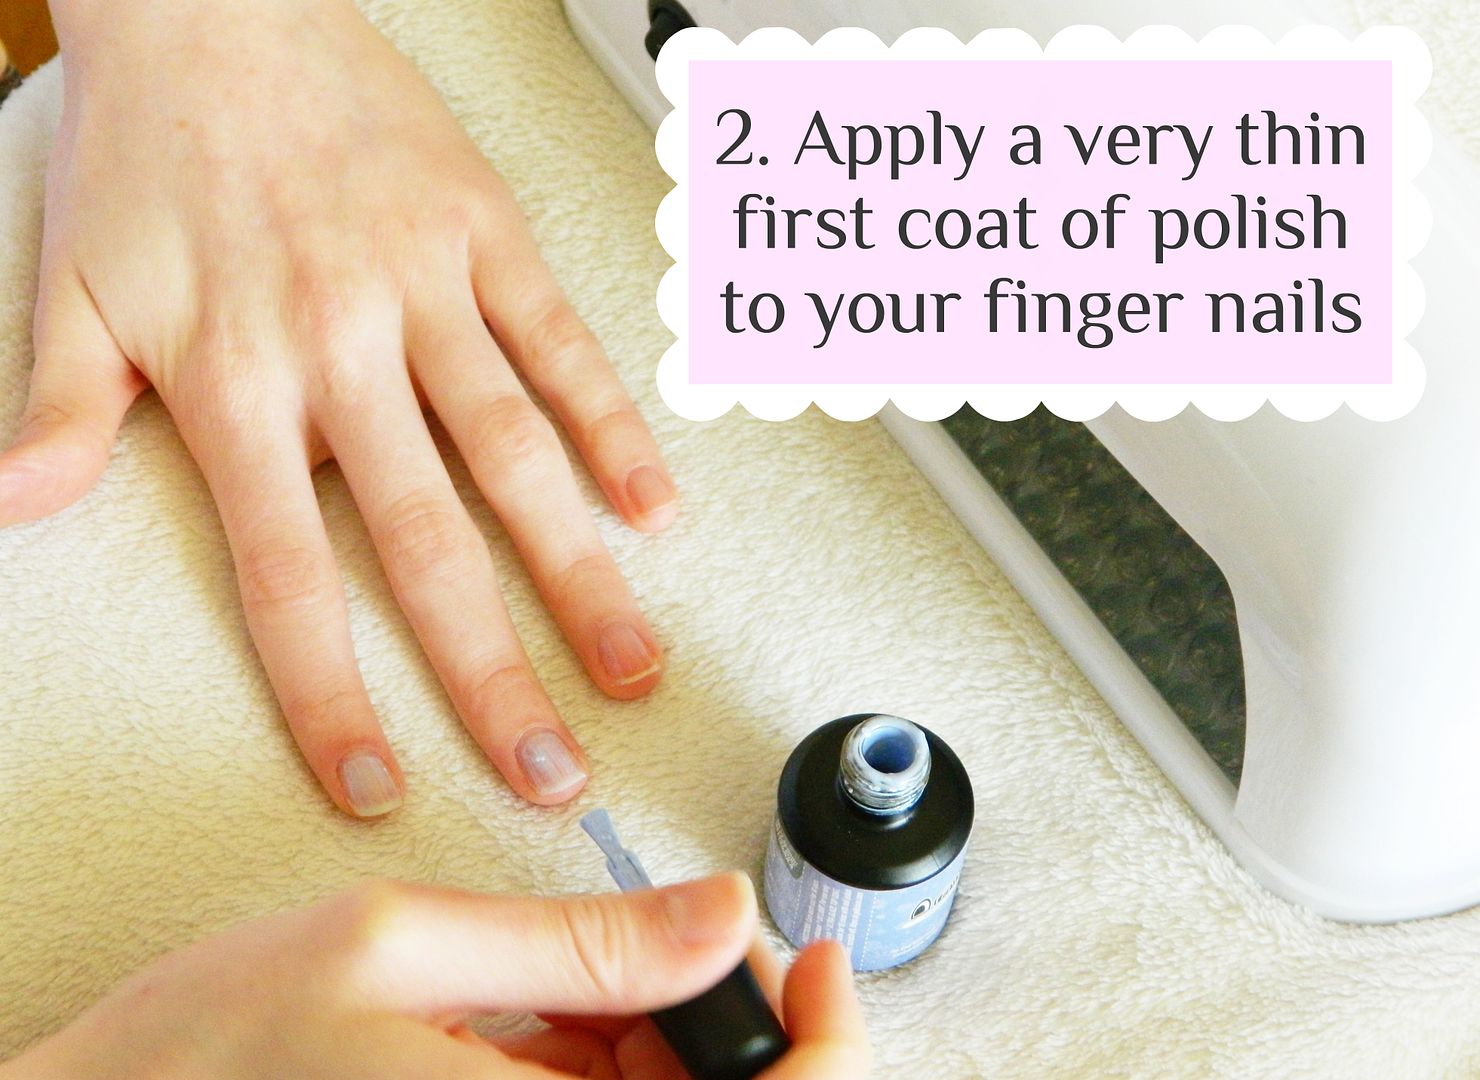
Step 2 | Once your nails are prepared, you can start by applying your first coat of gel polish to your finger nails, you will do the thumb separately. This first coat has to be very thin and make sure you concentrate more on a clean finish rather than it being opaque. To remove any excess polish, simply wipe the brush against the neck of the bottle until almost all of the the polish is off. As you can see the polish is quite streaky when you first apply it, but the Gelicious polish does level out slightly once you apply the next coat!
Top Tip | Focus on creating that clean edge by avoiding the skin around the nail when doing your first coat. This will also help reduce your nail polish from peeling a day or two after your manicure!
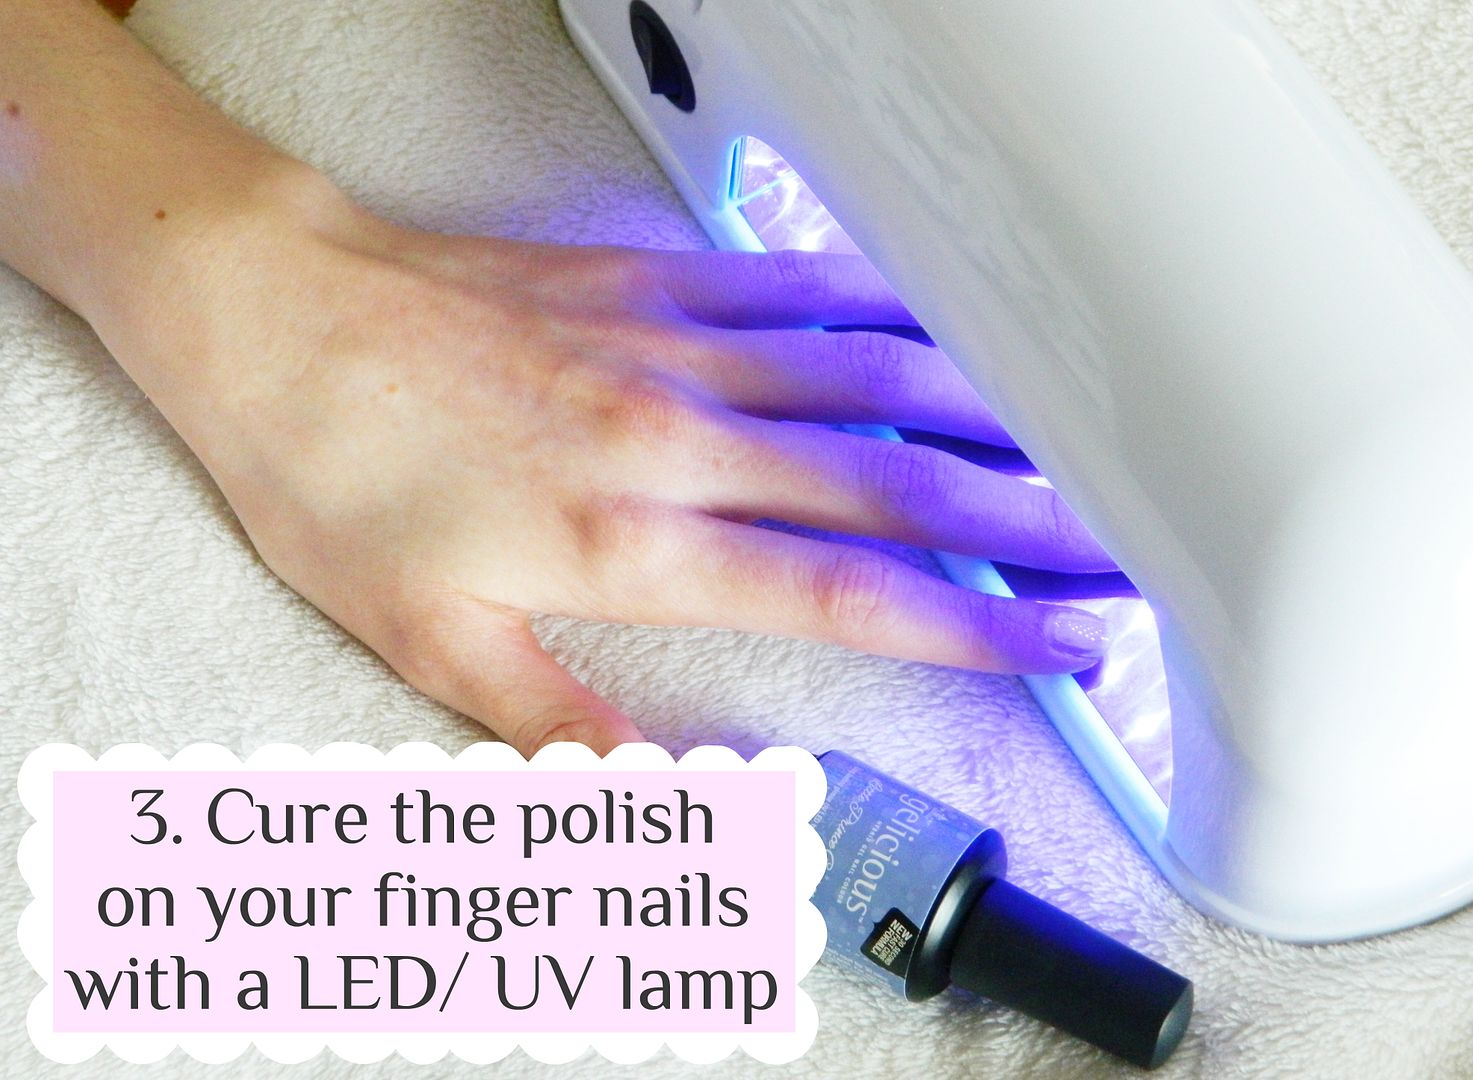
Step 3 | Now you're ready to cure the polish on your finger nails! The Gelicious Travel Lamp is extremely easy to use. You literally plug it in at the mains (it is available with a UK plug), switch it on and then go! As the Travel Lamp contains both UV and LED rays, this means it's much quicker to cure polish compared to normal UV lamps. Unfortunately it doesn't come with a built in timer, but this isn't a problem for me as I can simply use my phone's countdown app so I know I've cured my polish for the correct time. Like I said Little Prince George cures in just 30 seconds which is really fast, convenient and quite simply amazing compared to other brands!
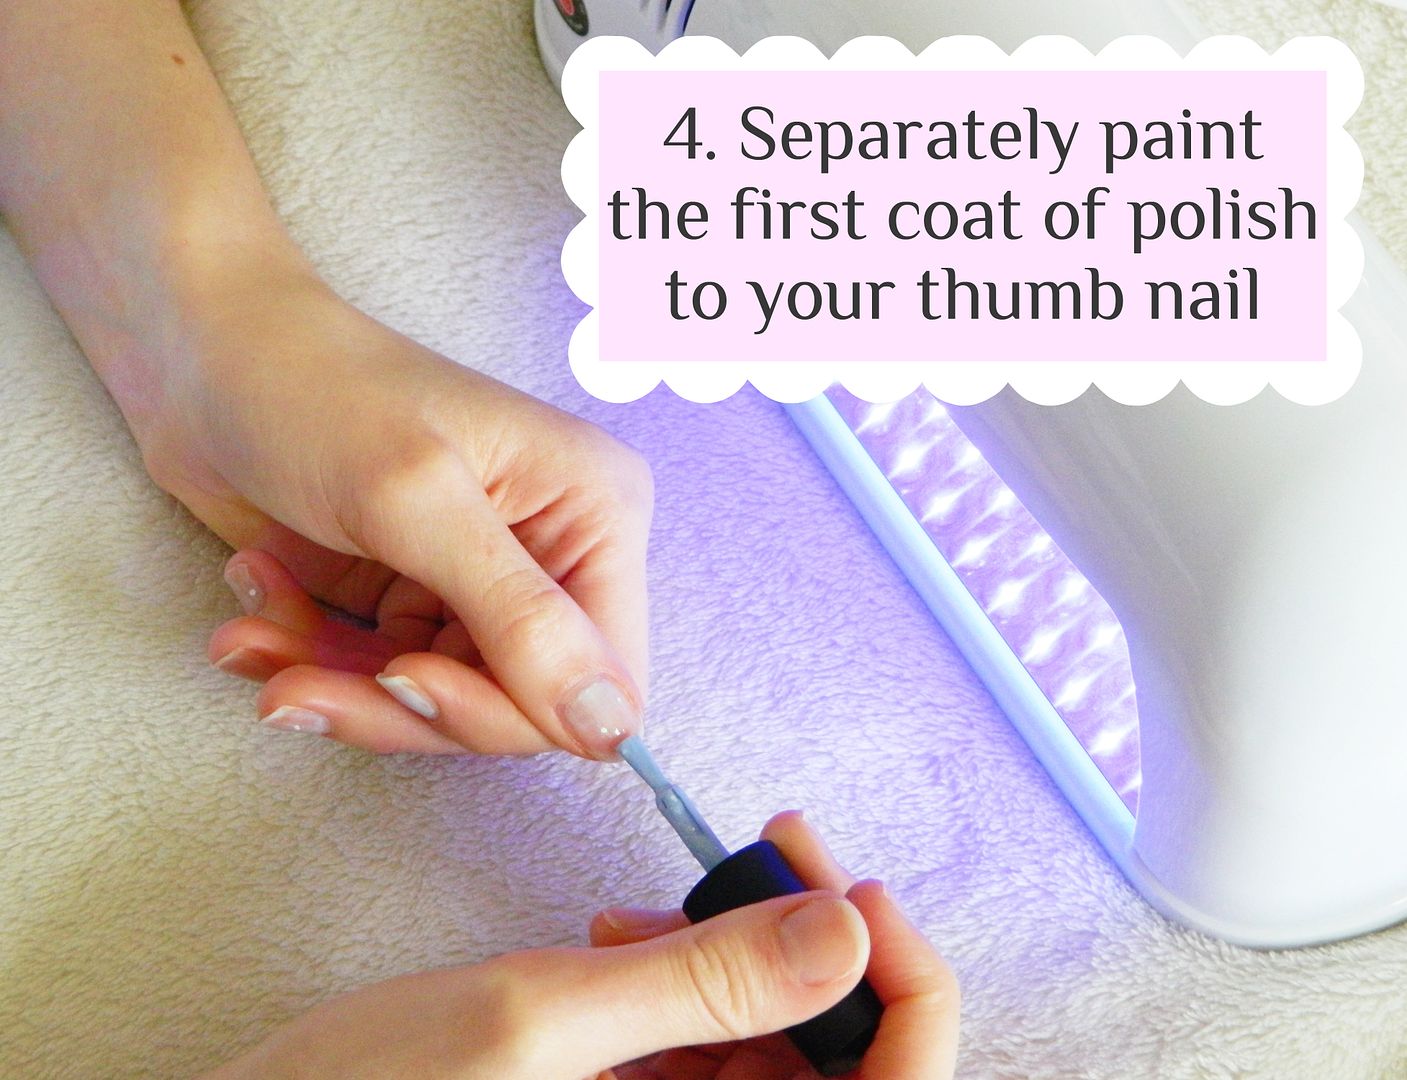
Step 4 | Now you can start to paint your thumb nail. As you can't fit all of your fingers and thumb into this lamp at once (which is pretty standard across many gel lamps) you do have to paint your thumb separately. Again, you need to apply a very thin coat of polish to your nail making sure it doesn't come into contact with the surrounding skin.
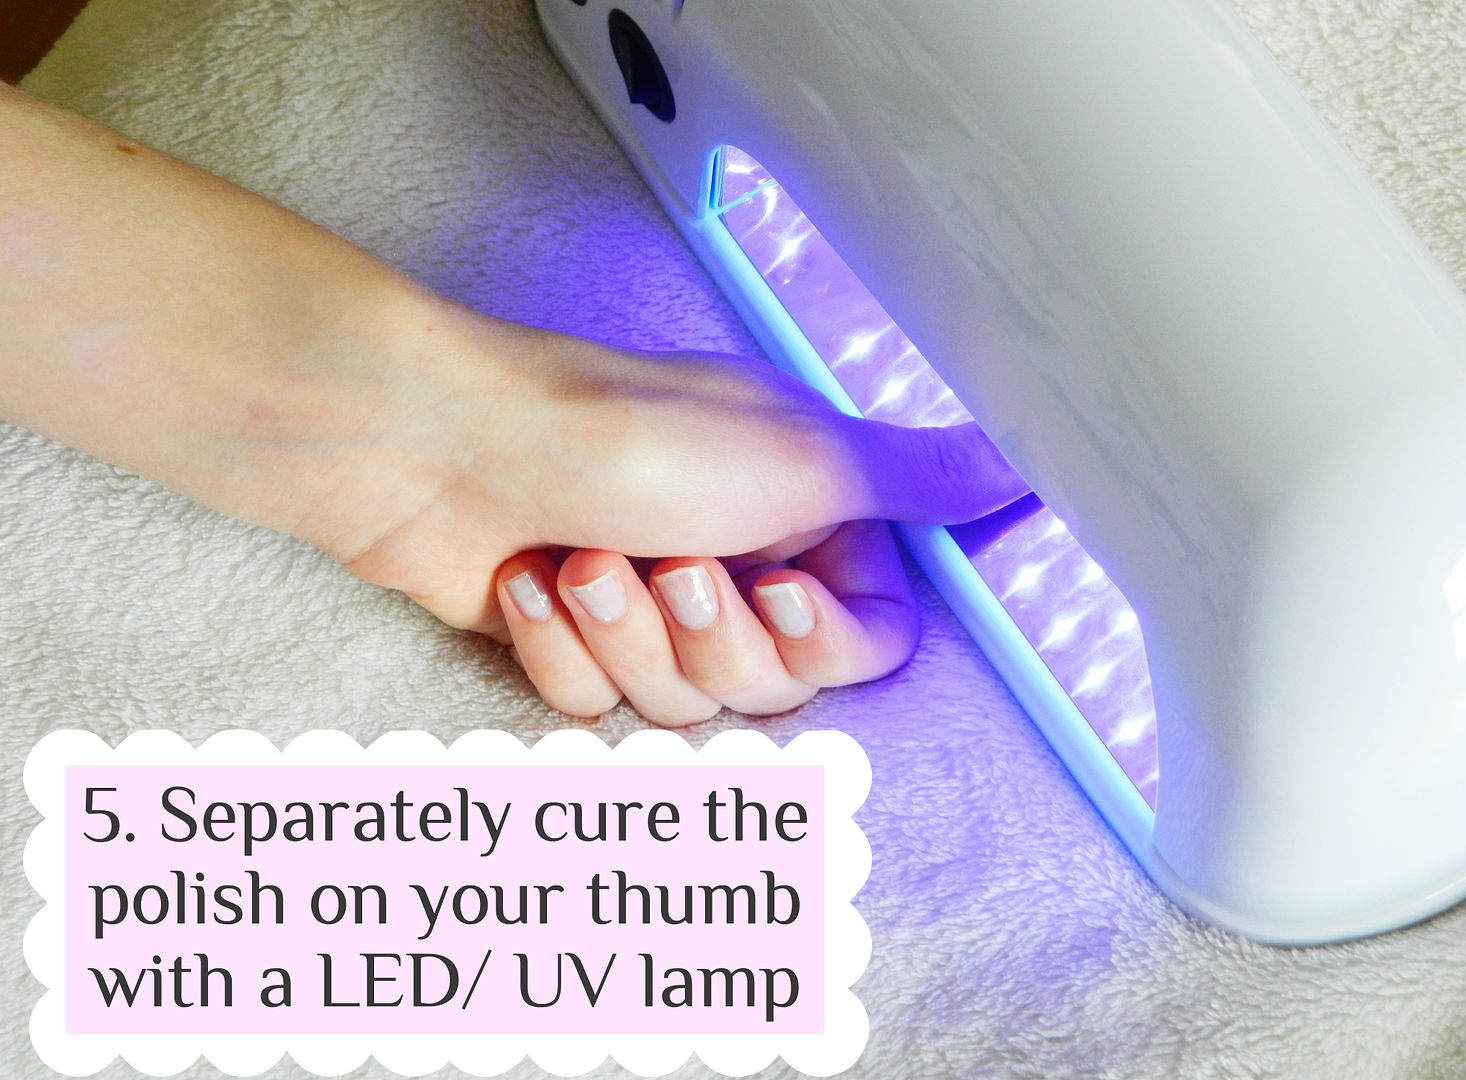
Step 5 | Once your thumb is painted you can start to cure it. It is a little tricky to position your hand when curing your thumb (hence this awkward arm in the photo above haha) but as the lamp is extremely light, you can simply hold it up off the table to cure your thumb. Once all of your nails have been cured you may notice that they are still sticky - your nails have cured but the polish does stay tacky so that the next layer can adhere to it. I wouldn't recommend touching this layer as I do find it can still slightly smudge or ruin the overall effect of your gel nails!
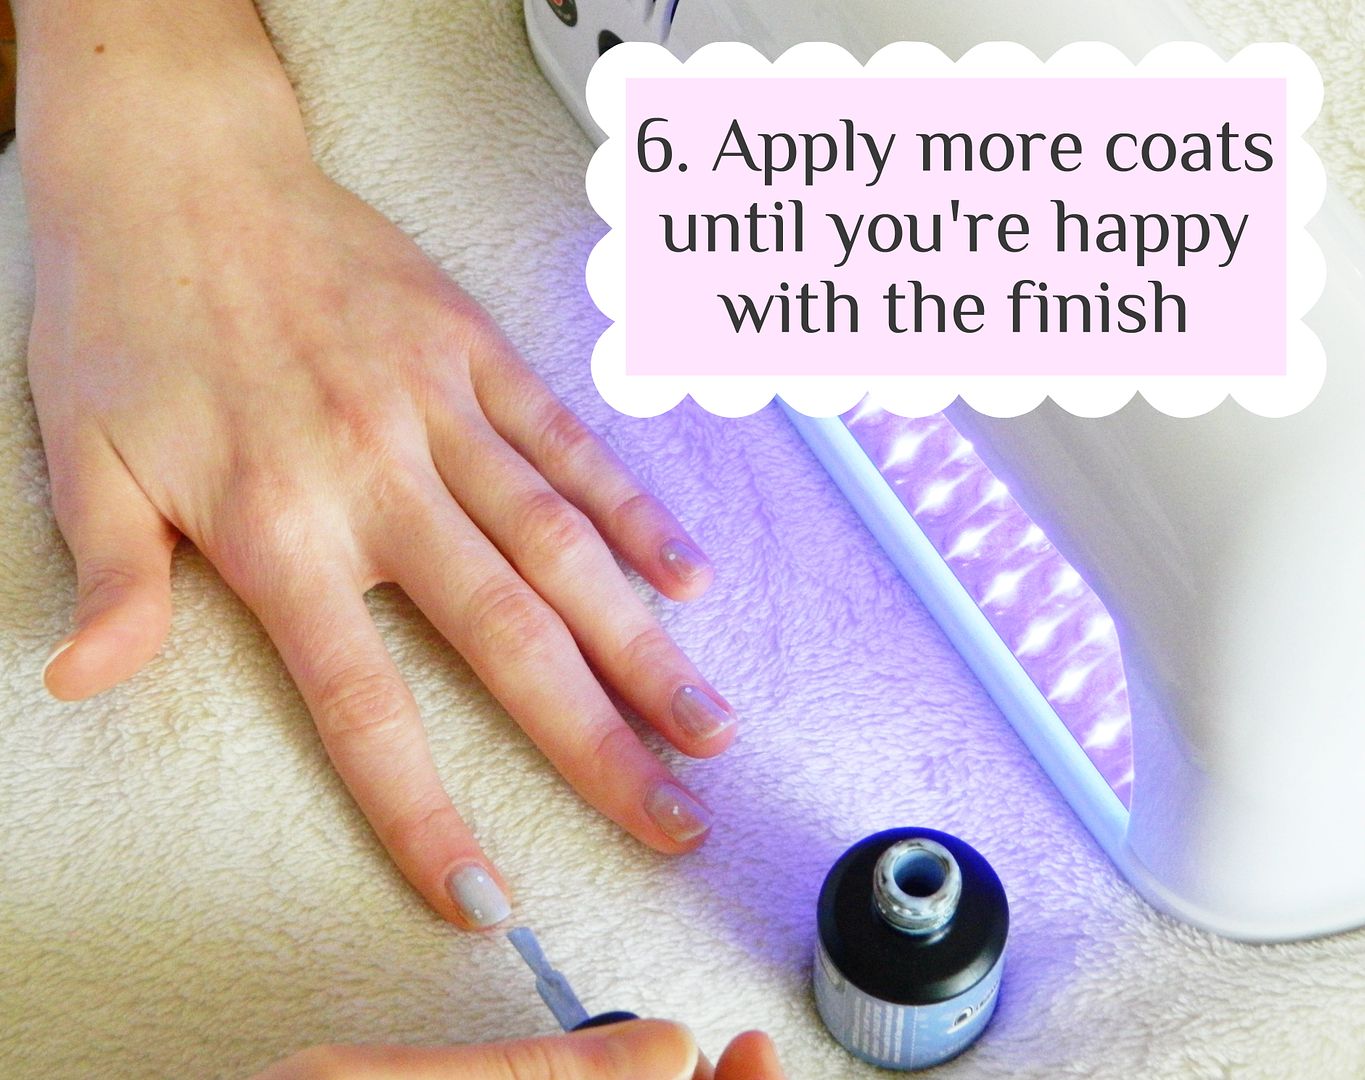
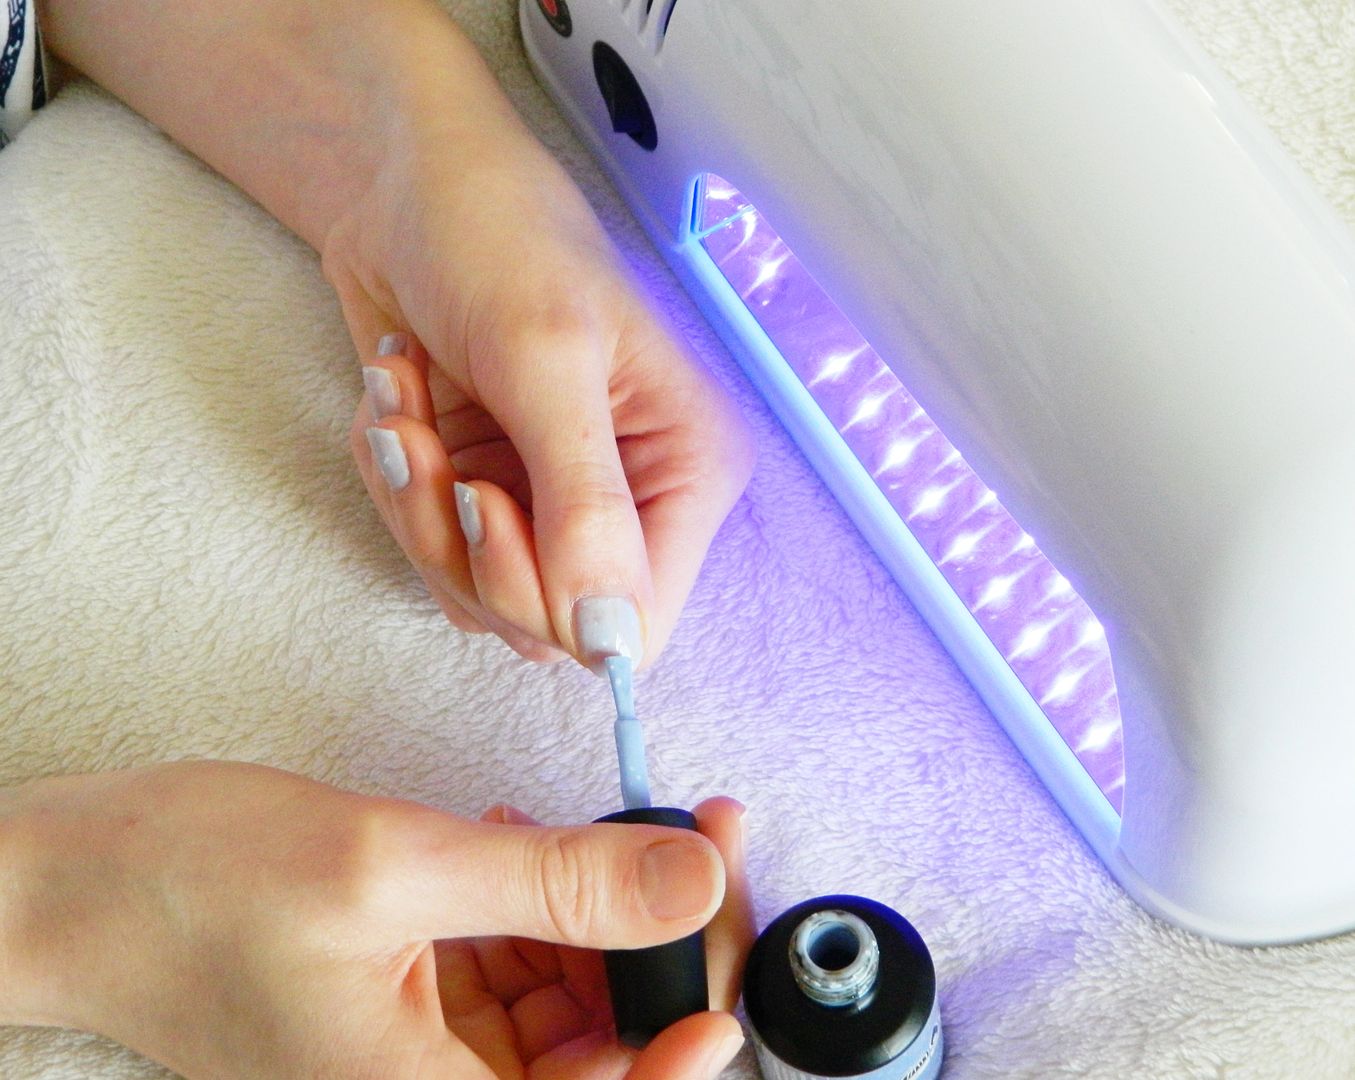
Step 6 | As gel polish isn't like normal nail polish, you can apply as many coats as you like (as long as they are thin and cured correctly) and it shouldn't peel off! Gelicious say that as this shade is quite light, I would need to apply around 3 or 4 for a more opaque look. This doesn't really bother me as I can understand that a paler shader will need that extra coat or two to make the colour pop! For this post I applied 3 coats of Little Prince George but I probably could have done with that 4th coat!
Top Tip | Apply polish to the tips of your nails to completely encase your nail. This will help reduce your polish from chipping and will help your manicure last much longer!
Top Tip | Apply polish to the tips of your nails to completely encase your nail. This will help reduce your polish from chipping and will help your manicure last much longer!
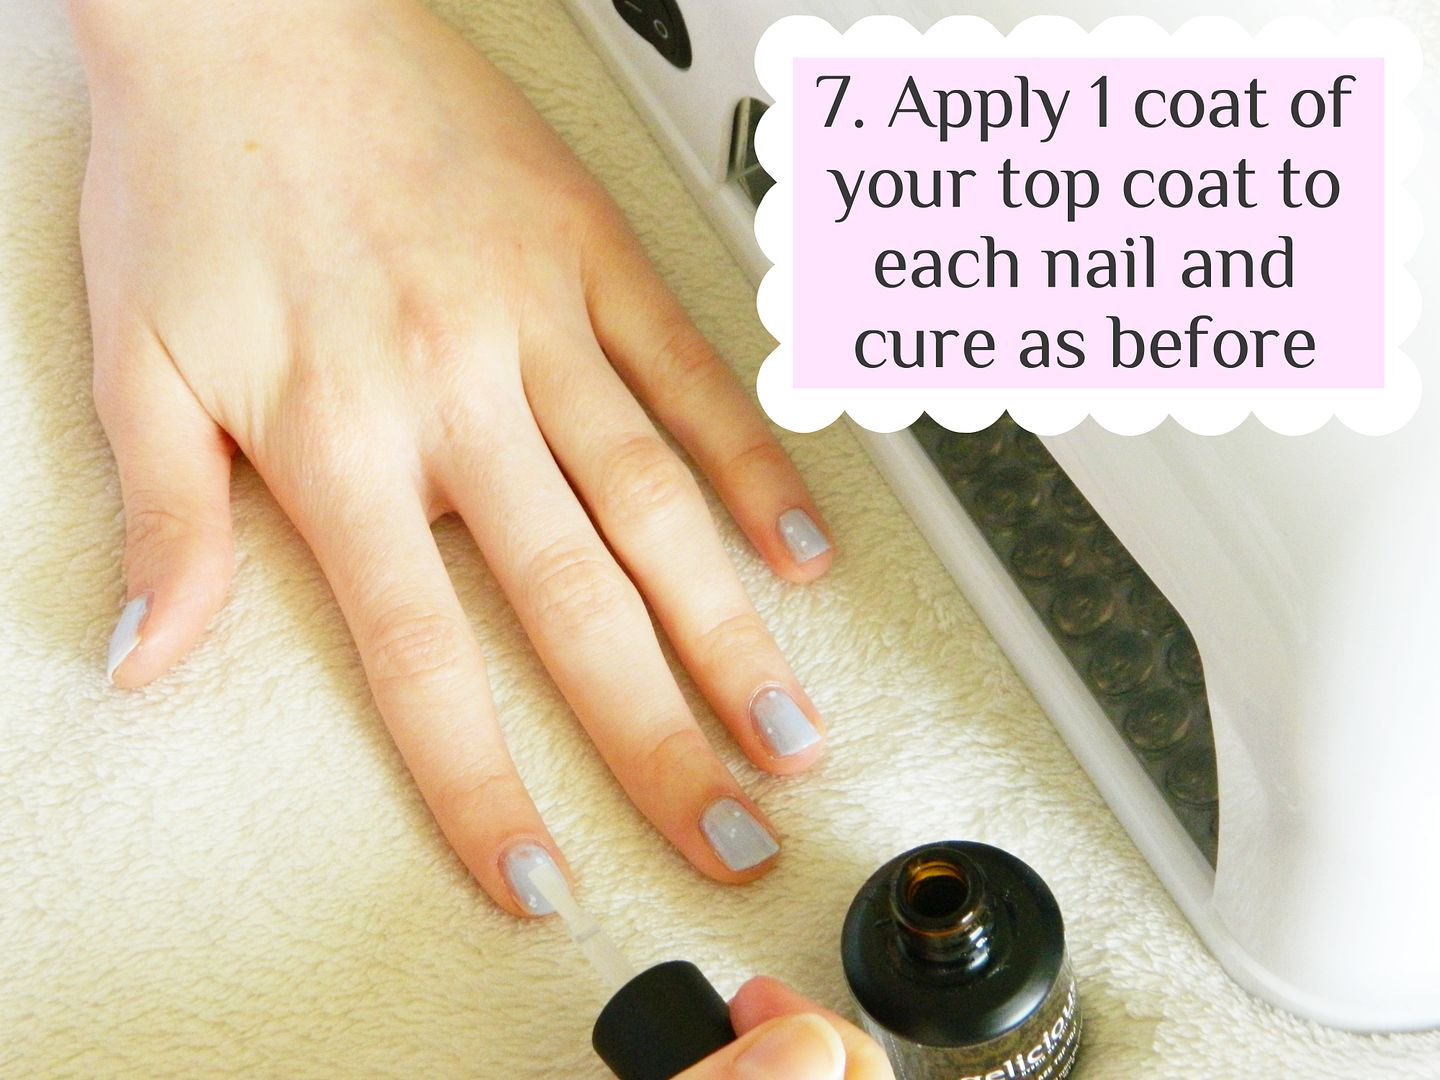
Step 7 | Once you are happy with the colour finish of your nails, simply apply a thin coat of your top coat. The Gelicious Ultra Glaze Top Coat is designed to give your nails a glossy finish that will last you for a couple of weeks. Make sure that you apply the top coat to the tips of your nails as well as this will help your manicure last much longer! Again, cure your top coat polish and repeat on your thumb nail.
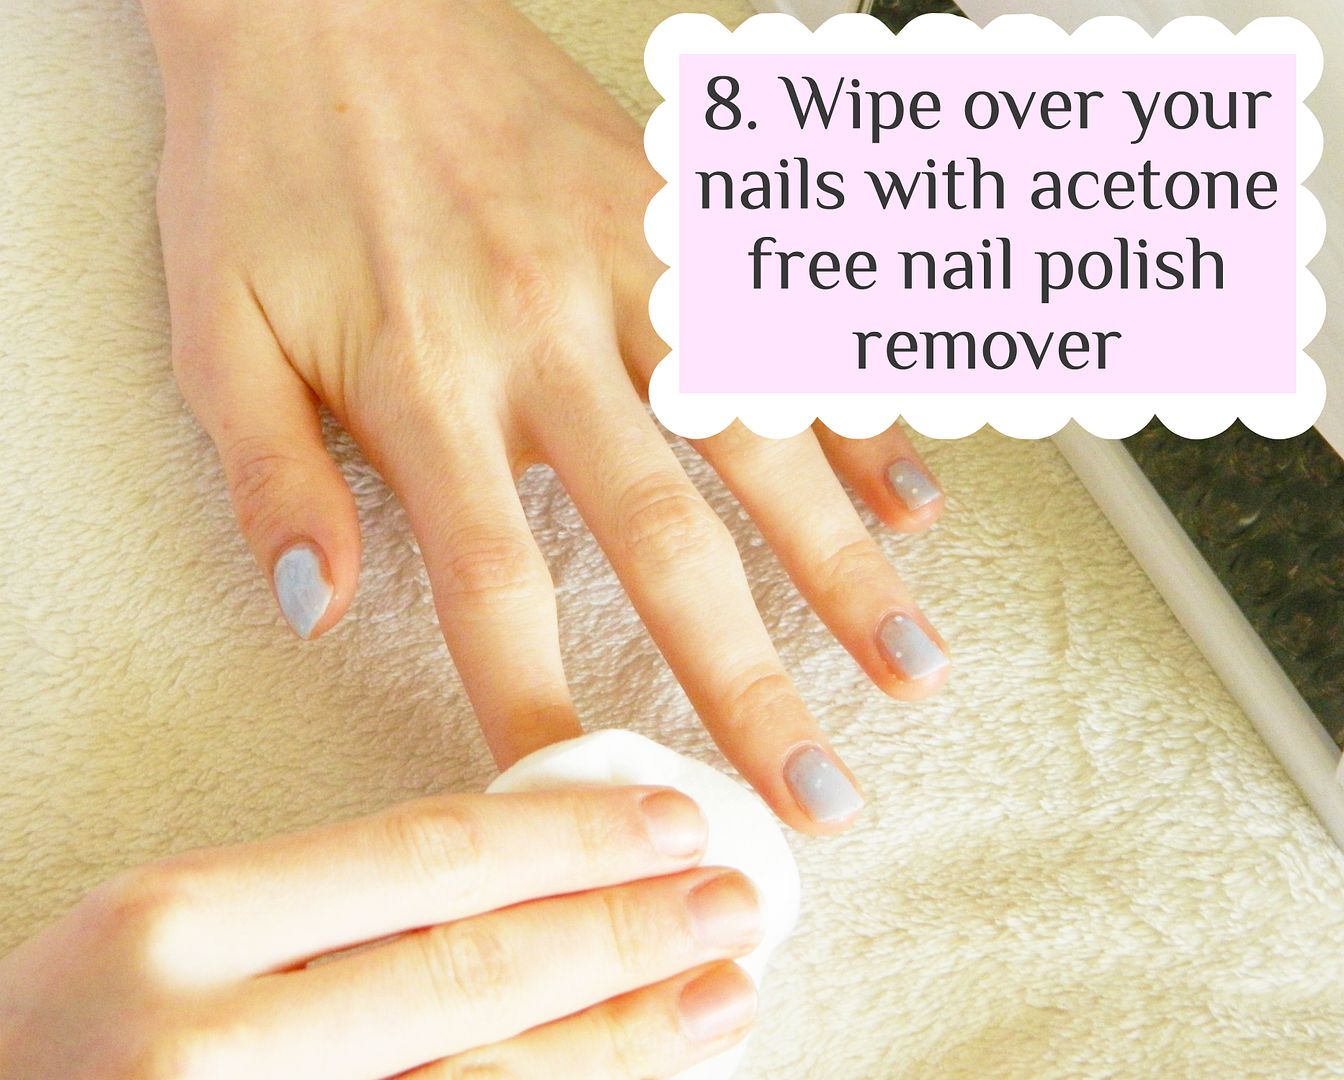
Step 8 | The final step is to remove that tacky finish that your nails will have. With an acetone-free nail polish remover and a cotton pad, wipe over your nails until the stickiness has disappeared. Gelicious say to do this step with acetone, but I prefer using an acetone-free remover as I know this will not affect the look of my manicure. Once you're done you will have a beautiful looking manicure with 100% dry nails - this is the best perk about gels as there isn't any drying time apart from the curing!
Top Tip | Apply some nail and cuticle oil to restore the oils back into your nails. This will help soften your skin back up and nourish your dry nails.
Gel Polish Removal | To remove your gel manicure, simply pour some pure acetone into a bowl and soak your fingers for 10 minutes. Once soaked, you can use a cuticle pusher to peel off the gel polish. I really wouldn't recommend peeling your polish off dry nails as this will damage the top layer of your nails causing them to be weak and flaky!
So here is the final look! I absolutely adore the colour of this polish and love that it's a bit different to any gel polish I've seen before as it does contain little white polka dots. As you can probably see the polish is much thinner at the base of my nails compared to the top. This is probably due to my application techniques, but you know what they say, practice makes perfect!
I personally find that my Gelicious gel manicure will last me between 1 and 2 weeks, depending on what I've been putting my hands through. Things like typing can weaken down your polish, so as a blogger there's always the chance that this can affect my gel polish - however Gelicious gel nails are really easy to restore. If you find a nail has chipped you can simply paint over that area and cure it to make your manicure look perfect again!
I am really happy with my Gelicious products and I think they quality is great for the price! I would definitely consider trying out some more of their polishes, I think Electric Melon will look amazing in the Summer!
Thank you for reading today's post and I really hope that you enjoyed it! If you have any questions about gel polishes do let me know in the comments below and I will try to give you the best answer I can!
Have you ever tried applying gel polish at home?
Leave your gel polish tips and tricks in the comments below!
Leave your gel polish tips and tricks in the comments below!



This is a really good post Amie, very helpful! :)
ReplyDeleteI'm doing a quick day course at the end of my beauty therapy course at college :)
www.molly-louisebeauty.blogspot.com
Thank you Molly :) I might do one at my college too! Gels are really fun to do xx
DeleteLove the colour of that polish :)if they weren't so expensive i would love to try an at home gel manicure :)
ReplyDeletehttp://thebeautybow.blogspot.co.uk/
Yes, they are much more expensive than normal polishes but that's because they last so much better :) Gelicious polishes are actually quite a good price compared to other brands! xx
DeleteThis is such a good post, very easy to follow! Love the colour of the nail polish :)
ReplyDeleteTabitha Beckett - tabithacourtney.blogspot.co.uk xx
Thank you for your feedback lovely :) It is a beautiful colour, I do love baby blues for this time of year! xx
DeleteNail lamp is necessary for both gel setting and traditional polish. There are mainly two types of nail lamps, namely, LED nail lamps and UV nail lamps. The main difference between these both nail lamp is the type of light that they emit. Furthermore, UV nail lamps are known mainly to cure nail polish. However, with the rise of gel polish, the LED nail lamps came into the picture and have gained popularity.
ReplyDeleteThank you for creating an informative post about the Best UV Nail-Led Lamps and the you have presented all of the pertinent information on the subject is pretty engaging.
ReplyDelete